Handguns are, by a wide margin, the most difficult firearms to shoot accurately due in part to their relatively small size and the inability to stabilize them against larger structures of the body. They become more difficult to shoot as they get smaller and the trigger pull gets heavier. The typical J frame has a trigger pull that is several times the weight of the revolver itself and is usually carried with a very small “boot” style grip. This translates to the application of comparatively enormous levels of torque on a handgun with very little room for a grip that will resist that torque.
Making the trigger pull lighter helps ameliorate this somewhat, but unfortunately there is no free lunch. The J frame requires a pretty stiff hammer spring to achieve reliable ignition since the hammer itself has such little mass. Due to this I never really bothered trying to do any trigger work on my J frames before, but with the purchase of the 638 I decided I would try out the Wilson Combat Custom Tune spring kit. The Wilson kit seems to be well regarded by folks who know the J frame well and I’ve yet to hear a report of unreliable ignition with the Wilson kit.
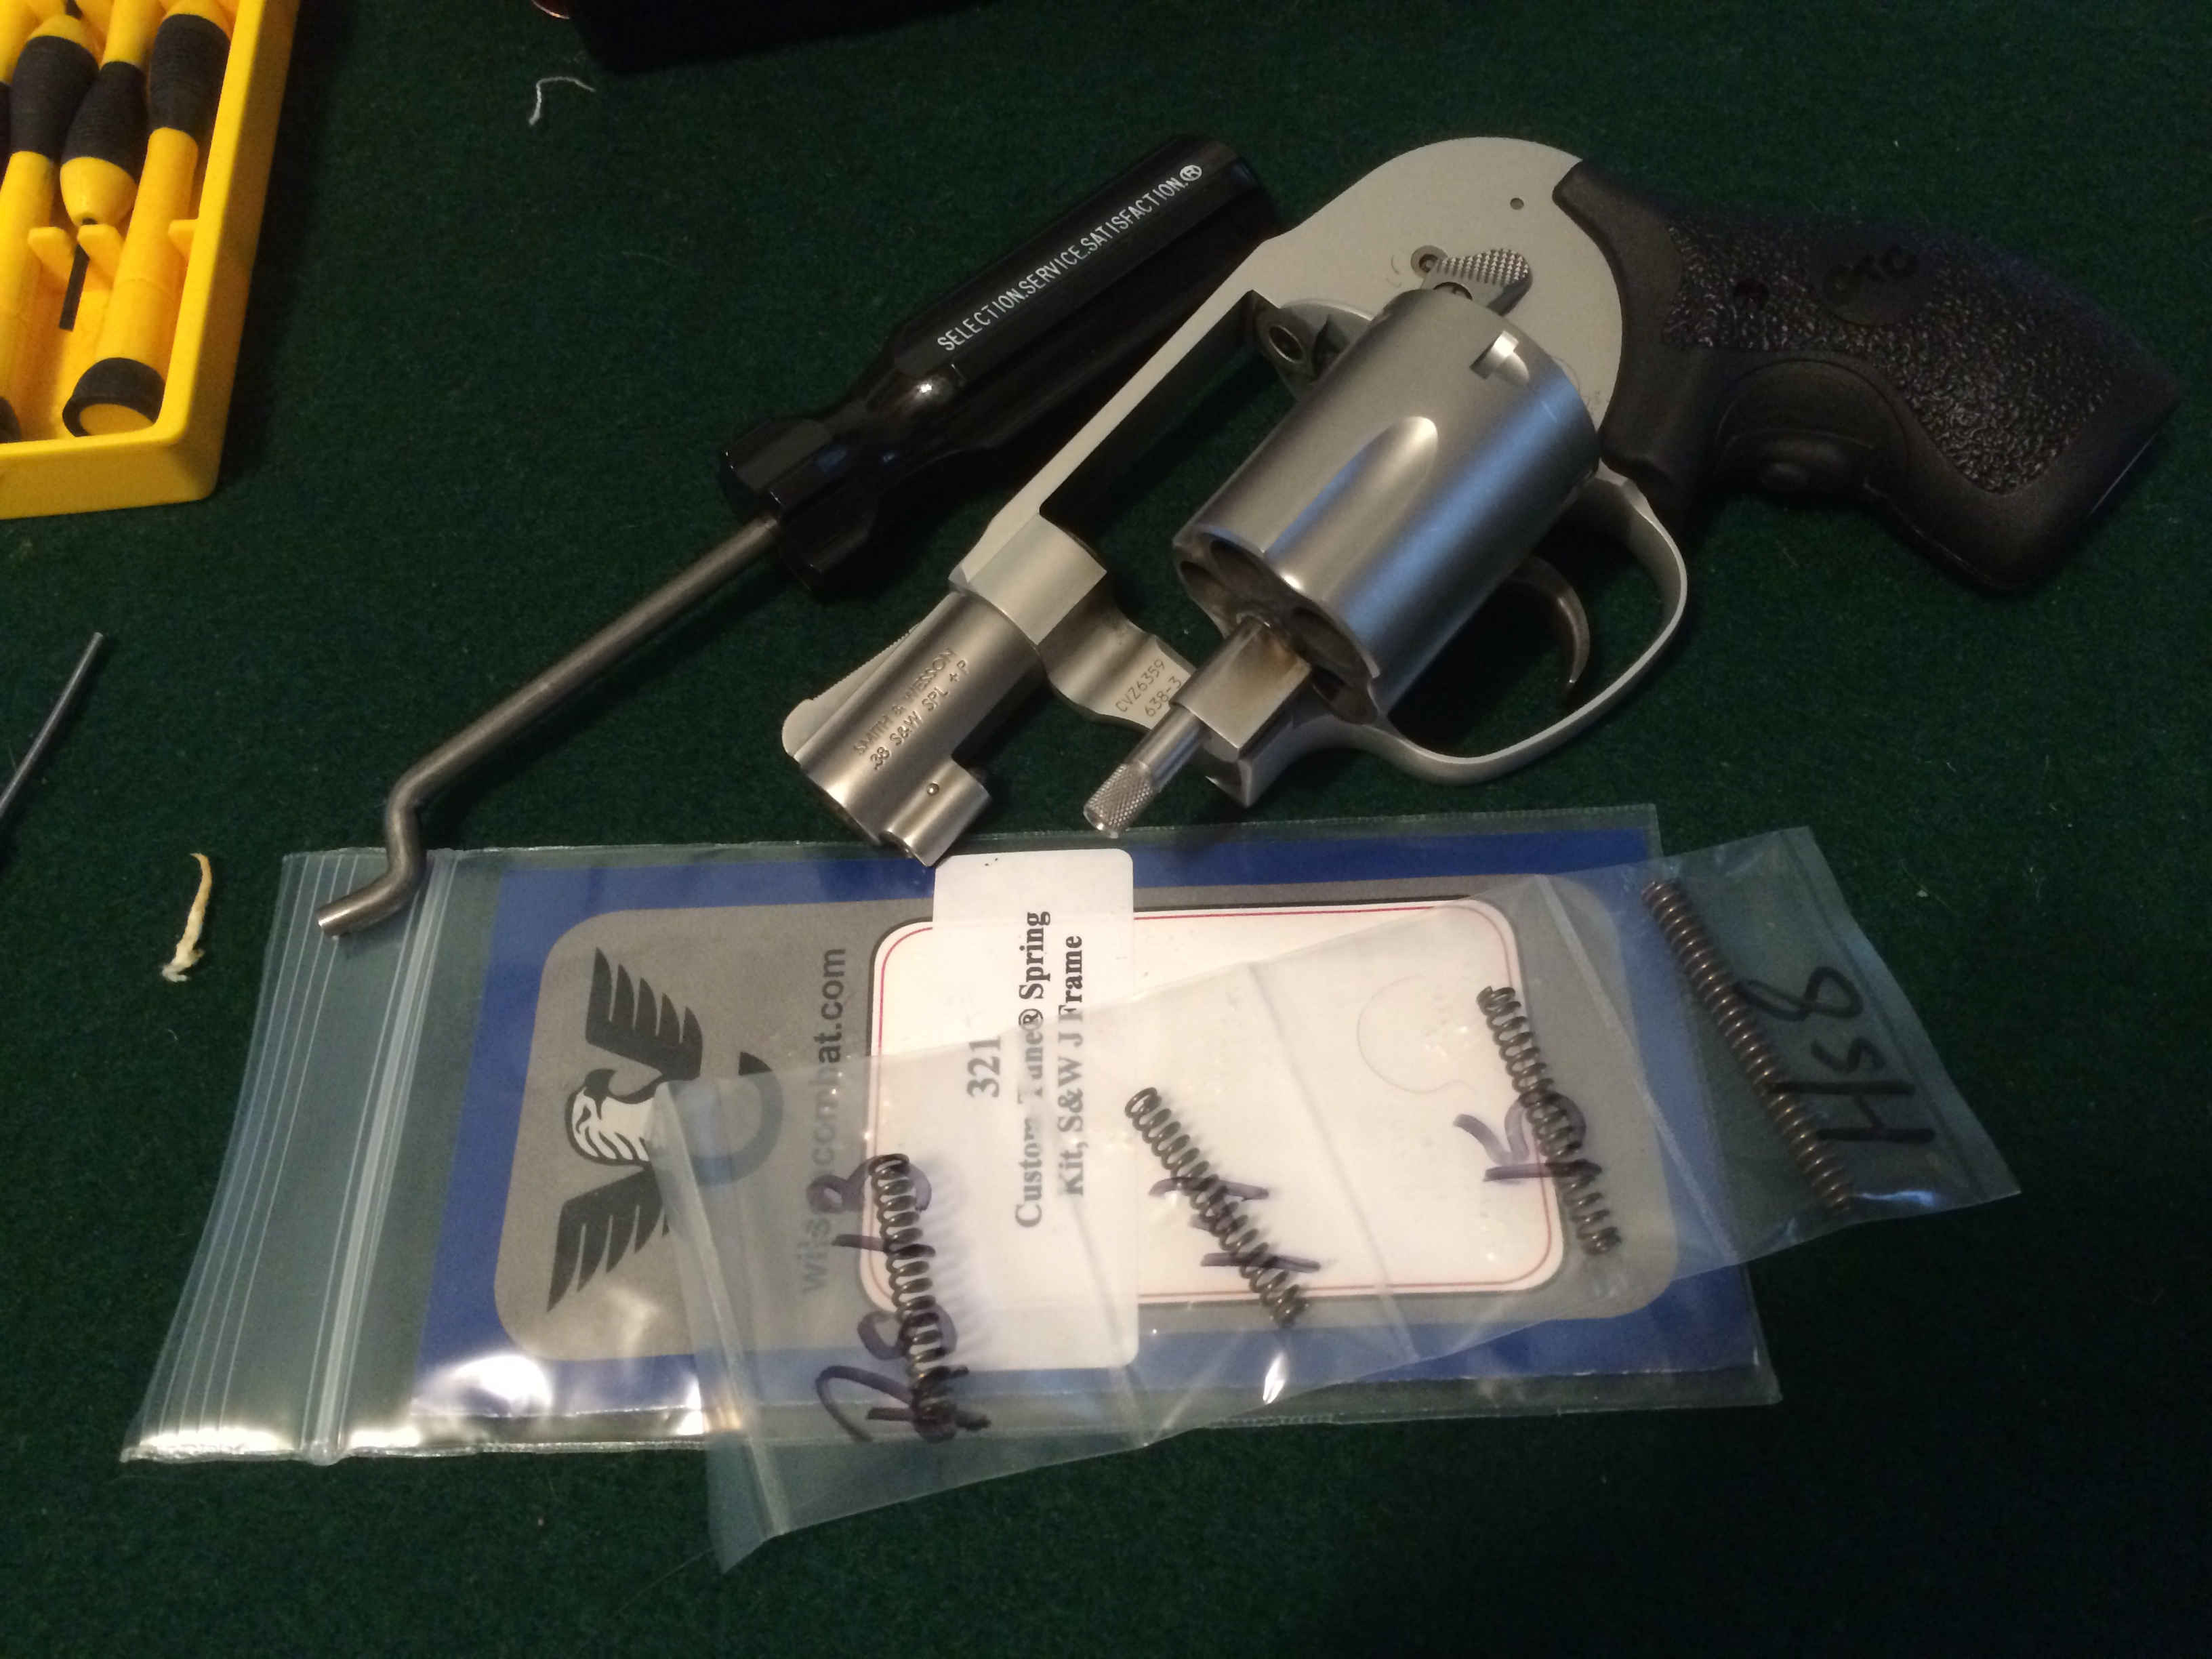
The Wilson Custom Tune spring kit comes with 4 springs, a single hammer spring that is lighter than the stock spring and three trigger return springs. The idea is you select the trigger return spring that gives you the trigger feel you prefer. (I used the lightest one) When you pull the trigger on a J frame you are working against the pressure of both of these springs, so by making them lighter you can reduce the weight of the trigger pull. Replacing two little springs sure sounds simple enough, right?
It is…mostly. Even a simple job on a very well documented gun can turn into a soul-crushing experience if you don’t do the research and gather the right tools. One of the “right tools” I’ve been too lazy to acquire for myself before now is a good set of gunsmith’s screwdrivers or screw-driver bits. Contrary to popular belief, all screwdrivers are not created equal and use of the usual sort of tapered screwdrivers on guns often results in damaging screws or even damaging the finish of the weapon itself. Keep in mind that with the Airweight revolvers you are working on a frame that is made of a metal which is considerably softer than that of the screwdriver you’re using, and so if your taper-ground driver slips out of the screw slot you’ve just dug a nice trench in your new gun’s finish.
While I was buying the spring kit I also bought the Brownells rebound slide tool pictured. The rebound slide spring bumps up against a stud made into the frame that’s aluminum on the Airweight revolvers. I hoped that using the proper tool would reduce the chances of snapping that little stud off…which could be a pretty expensive mistake. Unfortunately either Brownells got the spec on the tools wrong or S&W changed the dimensions on the studs on some of their revolvers because the opening in the tool was too narrow to fit around the stud properly. I put the 13 pound return spring in the rebound side and with careful finagling and holding my mouth just right I managed to use the tool to get the rebound slide back into place without incident.

The hammer spring/main spring is considerably easier to deal with…you just need a paperclip or a very small punch to capture the spring in a compressed state so you can remove the end cap that holds it into the frame. Getting the spring cap back on with the new spring is a little bit more tricky. If you are going to do a job like this I’d suggest doing so in a place where you have plenty of room and with no nooks and crannies that a little black piece of plastic can disappear into after it’s been unexpectedly sent on a ballistic trajectory by a spring.
While I had the little revolver’s guts exposed I figured I’d perform an additional task unrelated to the spring changes: Removing the lawyer lock.
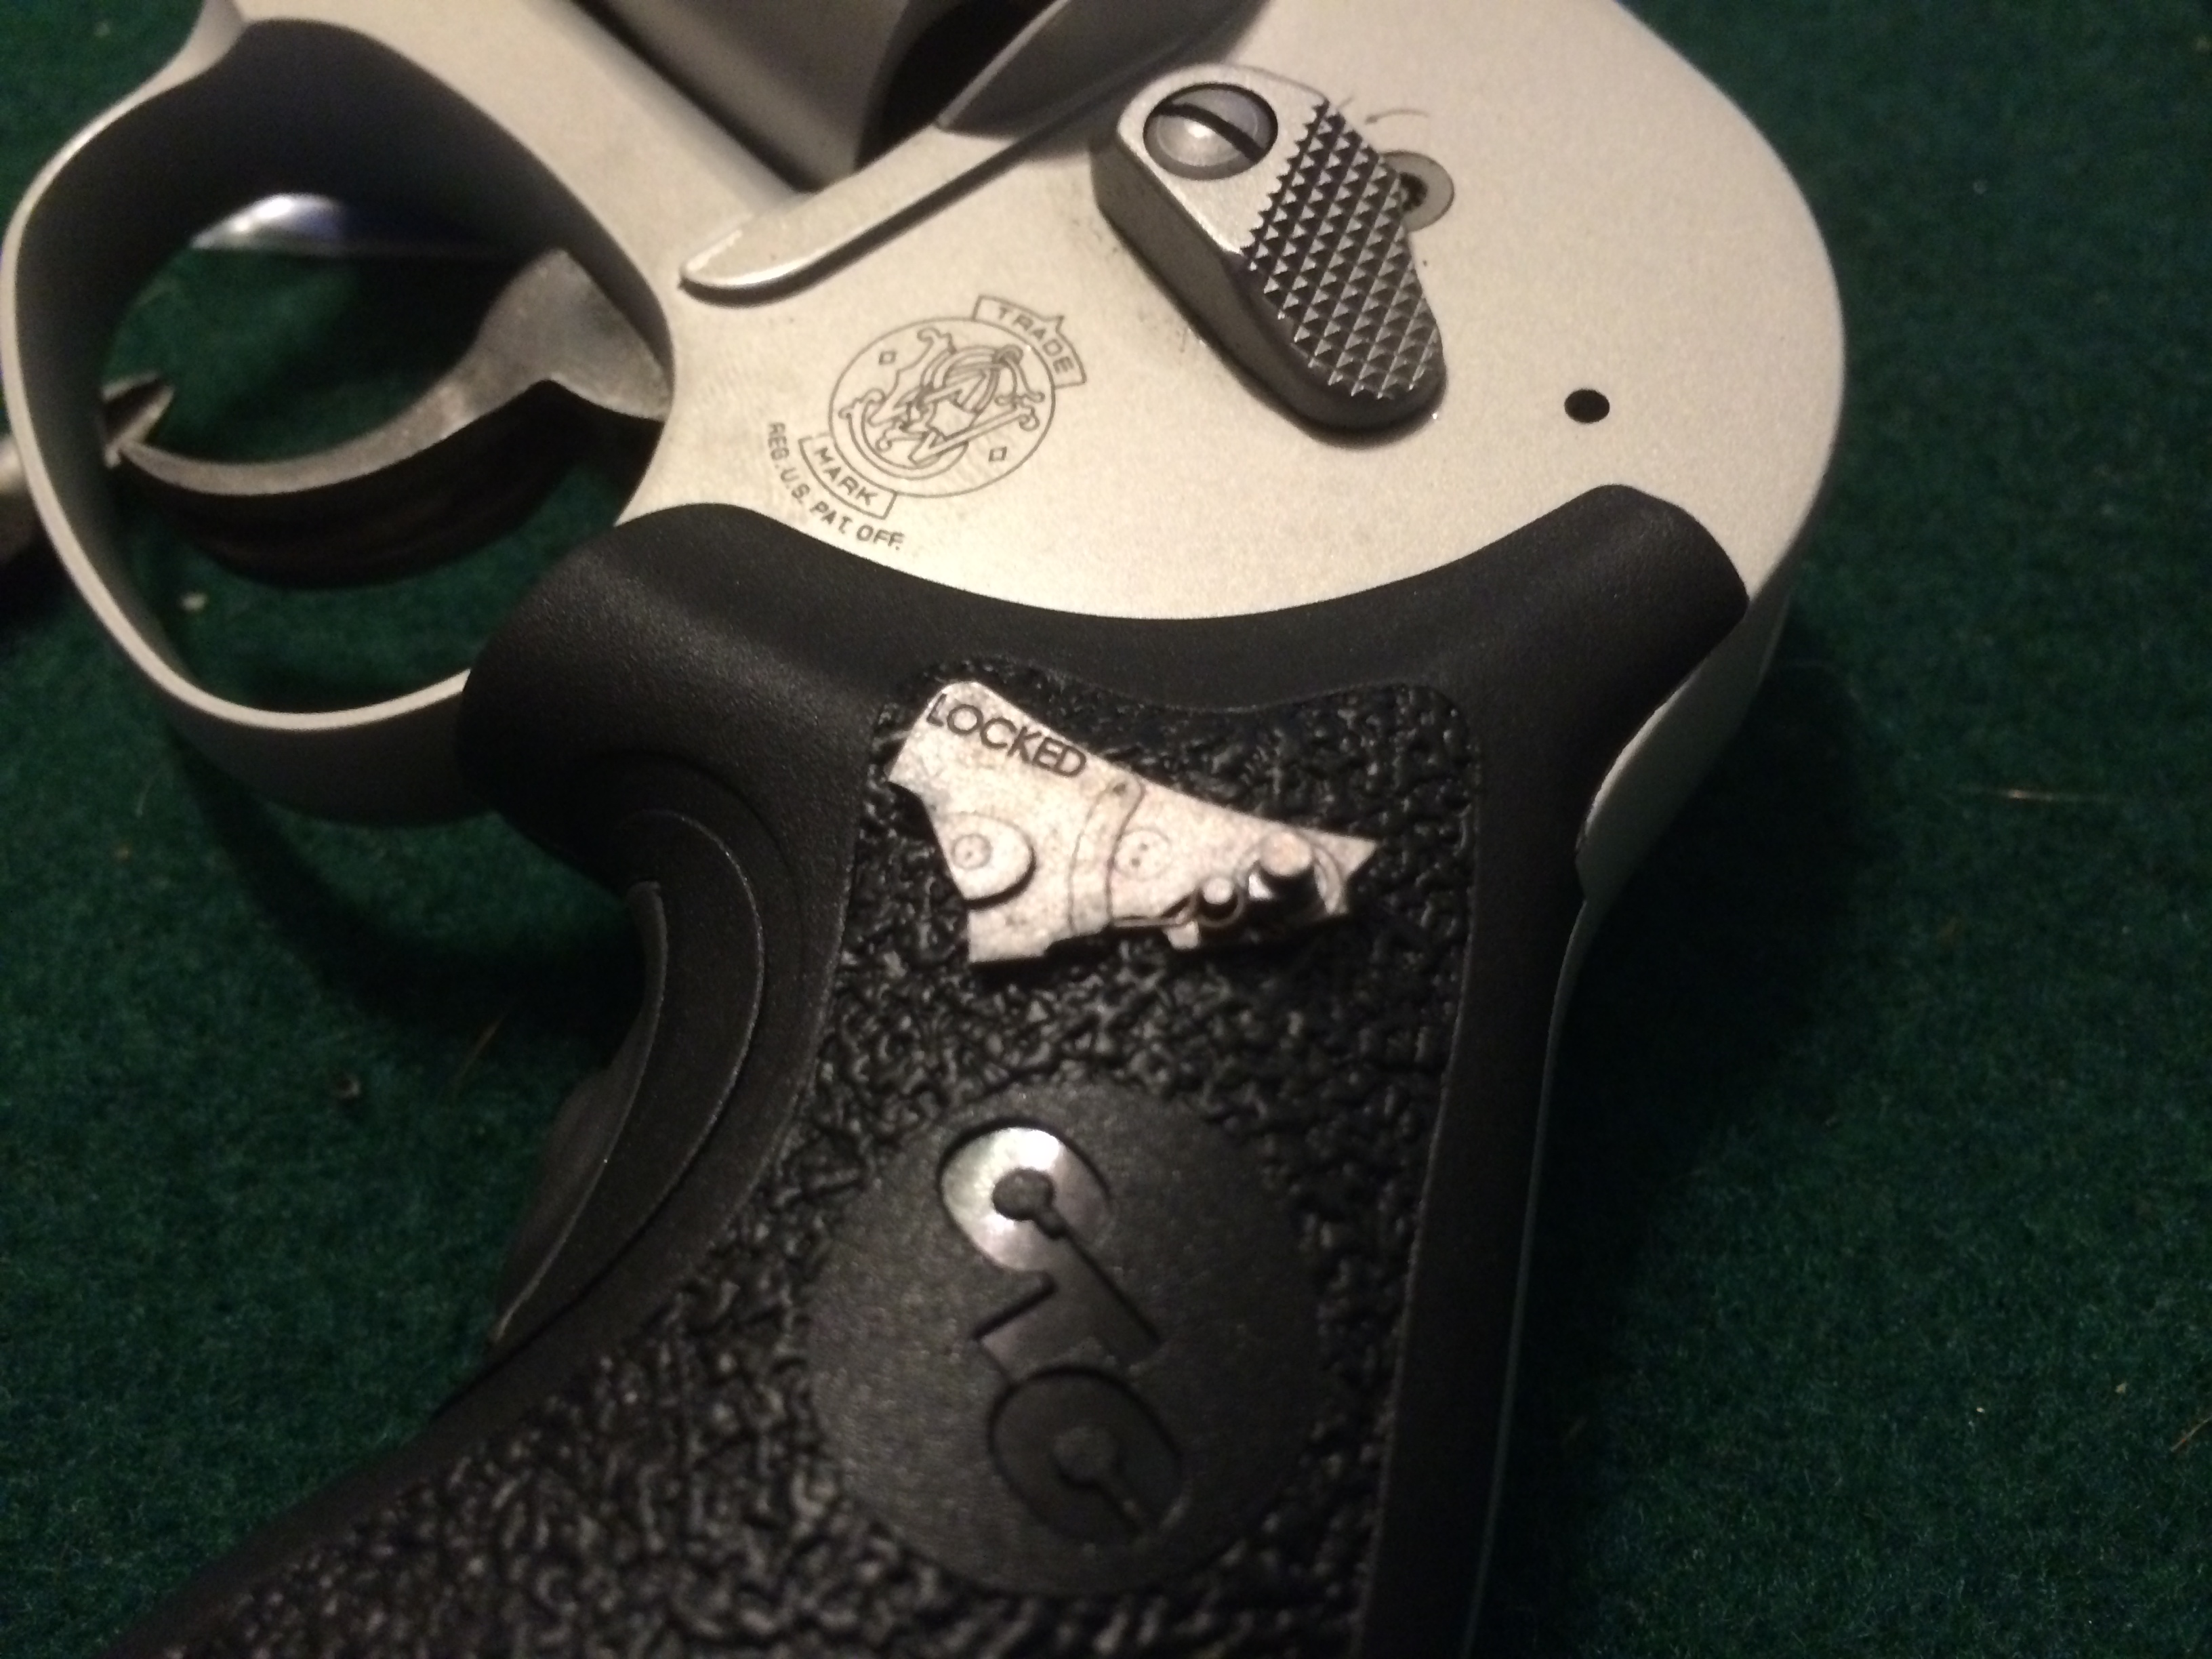
When you bring up the topic of S&W revolvers you will hear folks speak about “pre-lock” guns quite frequently. In the early days of our new millennium S&W decided to integrate a locking mechanism into their revolvers which would prevent the revolver from being fired when engaged. Much wailing and gnashing of teeth has happened over this decision partially because it was the result of some Clinton-era political pressure (S&W has new owners now who had nothing to do with that nonsense, by the way) and partially because it’s not aesthetically pleasing to see that lock zit sitting on the sideplate of the revolver.
I have a different reason for loathing the lock, though: Under the right circumstances the lock can spontaneously engage. Initially it was thought to be something that could primarily happen with the extremely light titanium and scandium frame revolvers in heavy calibers, but over time credible reports have accumulated on good old fashioned steel-framed guns in common calibers as well. This assertion is highly controversial because most people have never actually seen it happen. I have, though. I’ve experienced a partial lock engagement on another S&W revolver I own and as a result I get rid of them on guns I carry. Opinions vary on how one should go about getting rid of the lock, but I’m content to simply remove the bit that actually prevents the hammer from moving when engaged. The other pieces stay put nicely, in my experience.
I know why S&W started including the locks on their revolvers, but I’d absolutely love to see them be rid of the bloody things. They made revolvers for almost a century and a half without any silly locks and you can still buy some of their revolvers without locks…so why not just ditch it altogether, Smith?
After putting everything back together and doing some quick function checks, I found a noticeably improved trigger pull with a slightly slower trigger return speed…which is to be expected when you reduce the power of the trigger return spring. I didn’t hear angels singing or anything, but I didn’t go in expecting a miracle. I just wanted to make the trigger pull a little bit lighter. The difference is most noticeable when dry-firing with just the left hand, as I tend to need to apply less torque and as a result I don’t get as much lateral movement during the trigger pull. When it comes to shooting a handgun little things make a big difference and that goes double for little handguns like the J.
Given the price of the Wilson spring kit and the ease of installation, I’m pretty pleased with the purchase. I’m confident Wilson has done enough homework on the J frame to put together a spring kit that will function reliably. I’m sure it’s possible to go a bit lighter than the Wilson kit with some other option but I’m certain that the Wilson kit will work when I need it to…and that’s critical for a revolver like this one. If you have to pull a revolver like this you are already having a bad day and you need it to do its job properly.
These are OK, but my gunsmith yelled at me for installing a spring kit, he feels that they are unnecessary if a good gunsmith does his thing well and disparaged the quality of the parts. He’s curmudgeonly like that. After having felt the same gun with original springs, Wilson springs and then factory springs with a TJ, the latter is certainly the way to go if you can.
There would be one downside to getting rid of the lock — none of those models would be available in California anymore, until Peña v. Cid gets ruled in our favor. With the 442 we can get the lock-version, and the Moon Clip version, which has no lock, but the lockless standard 442 is unavailable to Californians.
Granted, I’d happily see that tradeoff, especially since it would give the suit even more fuel, but I just wanted to point it out.
Tim, consider an aquarium, roughly a 12-16 gallon one. Laid on its side, with an old towel taped across the opening, and two slots cut in the towel, it makes a pretty good assembly box. You can see what you’re doing, have room to work, and flying parts are contained. Lacking an aquarium, 2 1/2 gallon clear food storage bags make a field expedient substitute. I keep one in my range tool kit.
The trigger is entirely the reason I use the Ruger LCR for my small gun. Stock Smith J frames have terrible triggers. If you wish to work on the trigger though, a J frame can be made quite nice. Out of the box however, I think the LCR kills it.